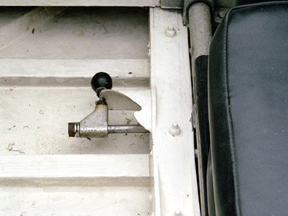
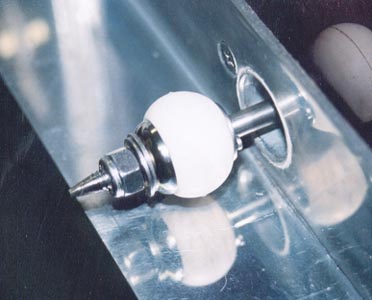
This bailer lever was photographed and submitted by Phil Kunz.
This picture is how we did it in the Lloyd shop. Just a piece of aluminum
angle.We would file a shallow ramp forward on the top and take a rat-tail
file and make a concave notch in the front for the rod to spring into.
The picture shows the rod in the open position. When you want to close
it, you pushed it forward and down over the front of the bracket into the
notch. You adjust it so that the natural spring of the stainless rod held
the ball tight to the transom and the rod in the notch.
Dick Bonneville
Chug-A-Boom E-36
 |
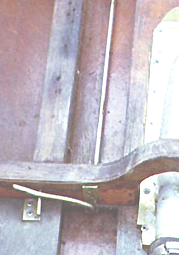
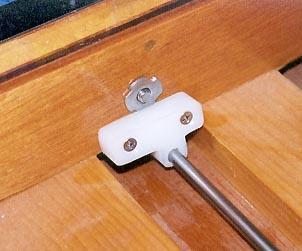
I just made these from scratch. Very easy to make:
I used a bending jig set up with pins. Used 1/4" stainless rod. Threaded
the end in the cockpit and attached some period hard plastic balls for
handles. Made two aluminum guide brackets. Two aluminum catch brackets.
Threaded the end at the transom. Turned a brass cone to make sure the balls
always centered themselves in the plug (I found sometimes you could lock
them and they would be off center) and then captured the balls and the
brass plug with a locknut on each side.
Alan Radue |
 |
 |
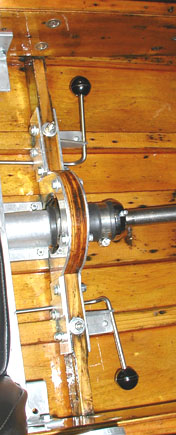
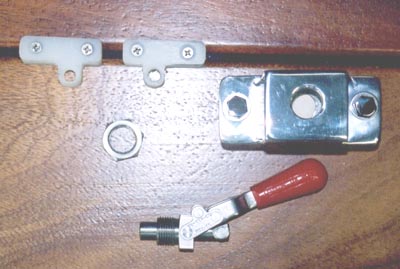
Here's how I made mine. The stainless steel, push-pull,
locking, toggle lever already has 1/4~20 female threads that are ready
for your stainless steel rod.
I used grade #303 grade stainless 1/4" diameter rod and threaded each end.
I made 2 polyetheylene bushings to mount on the frames to guide the
rod and center the ball into the round tube.
 |
 |
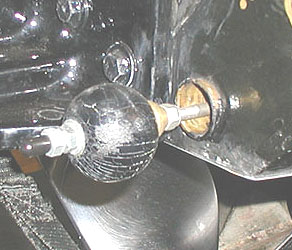
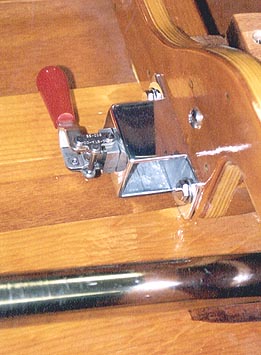
The toggle lever is bolted into a square tube of
aluminum that I was part of the old bailer. I reworked and then polished
it. The 1/4" rod is inserted into the hull from the back, through the 2
poly guide bearings, and then threaded into the toggle lever. The ball
is held on by a cotter pin in front and nylock nut in back. The poly bearings
were screwed to the frames after the rod was centered to the transom hole.
These bearings will guide the ball into the hole and keep the rod from
bouncing around. I also epoxied a 1" diameter tube through the transom
and chamfered the edge of the tube, to get a nice fit with the silicone
ball.
Phil Spruit
|
